
Prove the risky part works before you fund the whole project
A technical proof of concept is a small, focused build that answers one question: does the idea actually work under real conditions? It removes the most expensive failure mode in engineering — discovering in month nine of a funded project that the core assumption was wrong in week two, when a two-week experiment could have said so.
Willowark starts by finding the load-bearing assumption. Most concepts contain one or two genuinely uncertain claims — the sensor can resolve the defect, the model can hit the accuracy bar, the latency budget closes — surrounded by ordinary engineering. We design the PoC to attack the uncertain claims directly and defer everything else, with pass/fail criteria agreed in writing before the first part is ordered.
 R&D & Prototyping
How the work gets done
The same way every time: scope, build, hand over.
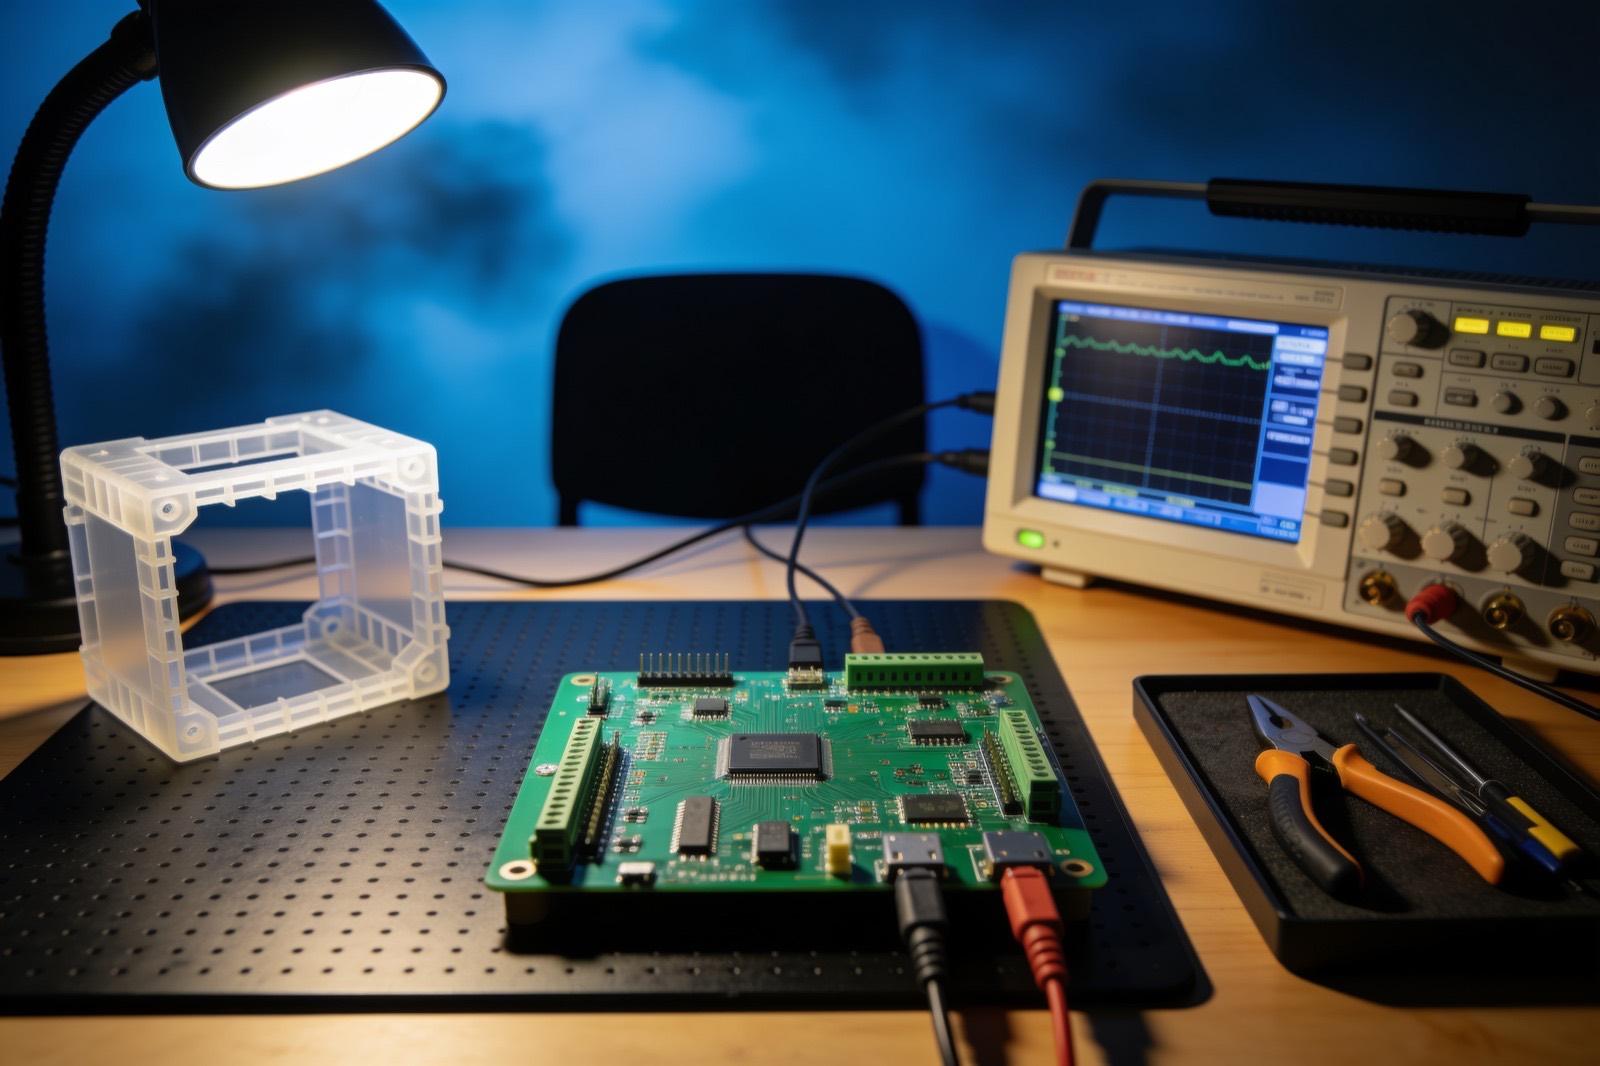
Building a PoC means deliberately cutting corners in the right places: development boards instead of custom PCBs, a bench power supply instead of a designed-in regulator, scripts instead of applications, one representative sample instead of a product line. What we never cut is measurement rigor — the data that answers the question gets collected carefully, with controls, because a sloppy yes is worse than an honest no. Typical builds mix off-the-shelf sensors and cameras, single-board computers, quick fixtures, and enough software to run the experiment repeatably.
The output is an answer with evidence attached. A successful PoC ends with a demonstration against the agreed criteria, a dataset, and a candid report covering what worked, what was fragile, and what the production version would actually require — cost drivers, engineering risks, and the corners we cut that must be uncut. A negative result gets the same rigor, because a clear, early no is a project saved.
Scoping starts with writing the question down as a sentence a non-engineer could read, then working backward to the smallest build that could answer it. If the question is whether a camera can resolve a defect, the build is a camera, a light, and a script — not a conveyor. If the question is whether latency closes, it is a timing harness, not a user interface. We also define up front what representative conditions means, because a PoC that passes on clean samples under lab lighting has answered a different question than the one you asked. That definition goes into a short plan you sign off before anything is ordered.
Everything produced in the PoC is yours: the scripts, the wiring diagrams, the fixture CAD, the raw data, and the notebook of what was tried. We deliver it in source form, organized so the pieces worth keeping are separable from the scaffolding. When the answer is yes, the findings report doubles as the opening brief for the next phase — it names the corners that were cut, estimates what uncutting them involves, and lists the questions the PoC deliberately did not ask. Teams often take that document straight into a rapid prototyping or product engineering engagement, with us or with someone else.
Scope it in writing
What we agree before work starts
- Risk analysis identifying the assumptions the PoC must test
- Written success criteria agreed before the build starts
Build with checkpoints
Working results, not slide decks
- Working proof-of-concept build demonstrating the core function
- Test data and analysis against the criteria
Hand over something you own
Documentation, source, and training
- Findings report with a recommended path and honest risk assessment
- Prototype source, wiring diagrams, fixture CAD, and raw data in editable form
Sound familiar?
Where technical proof of concept earns its keep.
A startup that must show a working core function before its next funding conversation
A manufacturer unsure whether vision can reliably catch a defect their inspectors barely can
An idea for automating a manual process where nobody knows if the cycle time closes
A proposed sensor retrofit where signal quality in the real environment is the open question
Ask about Technical Proof of Concept
Describe the problem. Get a straight answer.
One line is enough. An engineer replies within a business day.
Related work
X-ray thickness gauge
Components:
- X-ray source (+ detector): Source and detector pair measuring attenuation through the material.
- Acquisition (signal chain): Signal conditioning and acquisition.
- Gauge software (thickness model): Calibrated model converting attenuation to thickness.
- Line control (feedback): The line's controller, closing the loop on thickness.
Connections:
- X-ray source to Acquisition
- Acquisition to Gauge software (calibrated)
- Gauge software to Line control (thickness)
An industrial measurement company · Industrial measurement
X-ray thickness gauge
A complete X-ray based thickness gauge: equipment assessment, hardware selection, electrical and hardware engineering, API integration, all software, and commissioning — delivered as a working instrument.
Read the case study →Common questions
Asked before every technical proof of concept project.
How long does a proof of concept take?
Most run two to eight weeks depending on hardware lead times and how much environment realism the question demands. If the honest scope is longer than that, the question is usually divisible — and we would rather run two small experiments in sequence than one large one on faith.
What happens if the PoC fails?
Then it worked. The purpose was to buy certainty at the cheapest possible price, and a rigorous negative result at PoC cost is dramatically cheaper than the same discovery mid-project. The findings report explains why it failed and whether a modified approach has better odds — sometimes the answer is a different sensor, sometimes it is genuinely stop.
Can the PoC code and hardware be reused in the real project?
Some of it, honestly labeled. Algorithms, measurements, and hard-won configuration knowledge carry forward; throwaway scaffolding should be thrown away, and we tell you which is which. We structure the work so the valuable parts are separable rather than pretending the whole prototype is production-grade.
What does a proof of concept cost?
It depends on the hardware the question requires and how much environment realism it demands; a software-only PoC on existing data sits at the low end, and a build with cameras, motion, and custom fixtures sits higher. We scope it as a fixed piece of work with a defined question, so the price is known before you commit, and we would rather shrink the question than pad the build. Send us the question written down and we can usually give you a range quickly.
Can you run the PoC in our facility, on our line?
Usually yes, and for some questions it is the only honest way to run it — vibration, lighting, dust, and operator behavior are exactly the conditions a bench cannot reproduce. We typically build and debug on our bench first, then run the deciding trials on site. If site access is limited, we ask for samples, recordings, or measurements that capture the real conditions as closely as practical, and the report says plainly how far the test environment was from the real one.


Where this sits
Technical Proof of Concept, inside a r&d & prototyping system.
The lit component is the part of the system this service delivers; the rest is what it has to work with.
Hover or focus a component to see what it is and what it talks to. Arrow keys move between them.
Requirements become a bench prototype with real sensors and firmware; a test rig produces data; a pilot unit runs in the field; and the design is handed to production with everything documented.
Components:
- Requirements: What it must measure, survive and cost.
- Bench prototype (MCU + sensors): Dev board, real sensors, real signal chain.
- Firmware: Acquisition, processing, comms, update path.
- Test rig (data): Instrumented tests against known references.
- Pilot unit (in the field): A handful of units where the product will live.
- Production (handoff): Drawings, BOM, test procedure, firmware — yours.
Connections:
- Requirements to Bench prototype over handoff
- Bench prototype to Firmware
- Firmware to Test rig over serial
- Test rig to Pilot unit over handoff
- Pilot unit to Production over handoff
Strategy. Software. Systems.
Have a system that should exist?
Tell us what your operation is doing manually, what isn't connected, or what you're trying to build. We'll tell you plainly whether and how we can help.